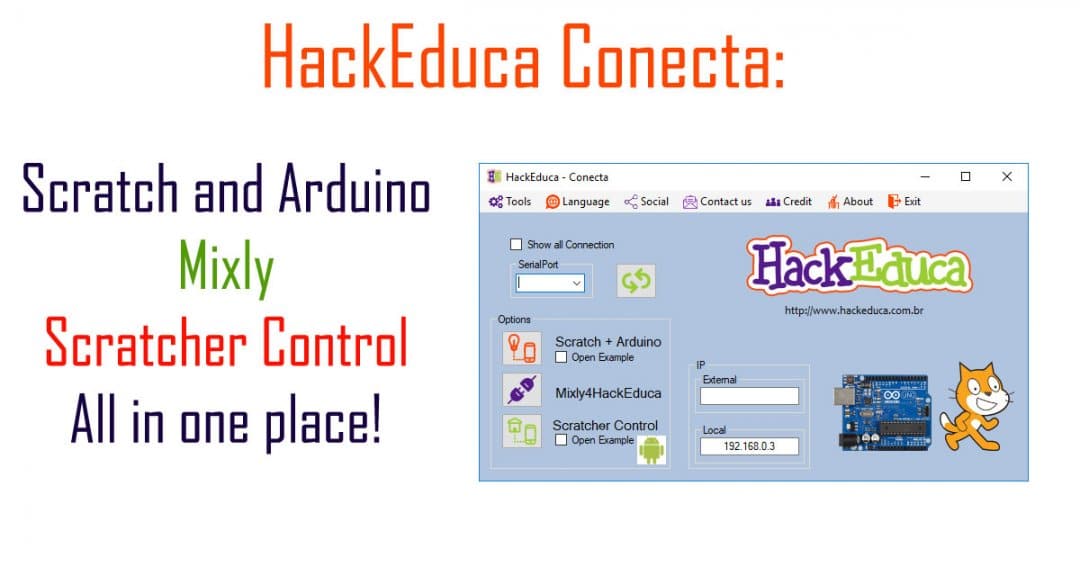
Would you like to connect your Arduino to Scratch 2.0, program your Arduino through blocks or connect Scratch 2.0 to your Android device, including voice commands, in a very easy way? You have come to the right place.
Read the following tutorial, download our application and have fun.
Lauched in 2013 and useful over the years – New version of HackEduca Conecta is now available only at HackEduca website.
Para versão em Português, acesse aqui:
Neste artigo veremos:
A little bit of History
In 2013 we released a rudimentary version, programmed in Batch Script (compiled in exe), which the main purpose was to connect the Scratch 2.0 to the Arduino using the firmata protocol.
The communication itself, as well as the current one, was created by Alan Yorinks, from MrYsLab, who uses Python for it.
What we did at that time was to make the life of hundreds of Brazilians users easier. Instead of installing and configuring Python, Scratch 2.0 and typing some codes that looks a little complex to open the interface, they could simply run the application and a Script file did the rest.
In the end of process clicking an icon was enough.
See the article we wrote about the old version here. (available in portuguese)
The News
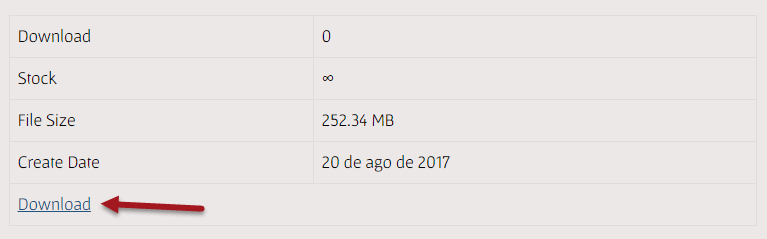
Download here:
Manual HackEduca Conecta 2.54 MB 2738 downloads
Manual do HackEduca Conecta Versão 1.0 ...Paperduino Tiny 255.21 KB 1707 downloads
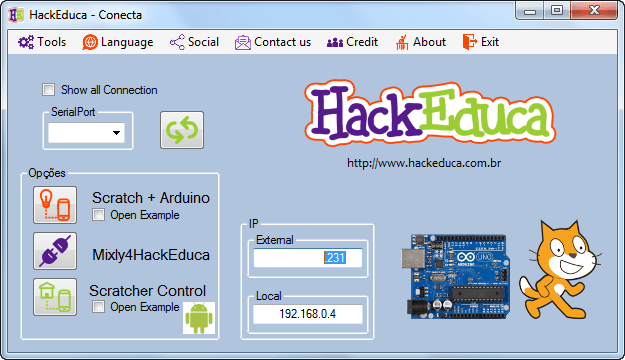
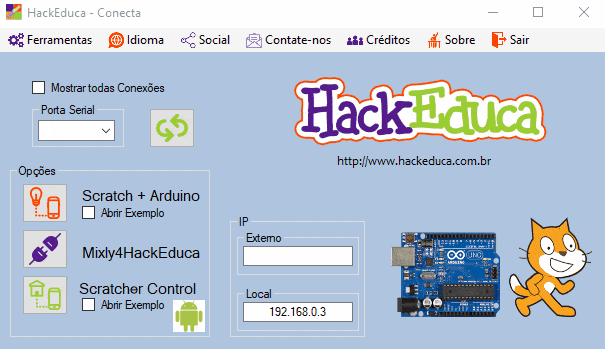
Como o site saiu do ar, resolvemos postar aqui para download o template para o Paperduino...The picture below shows up the new interface.
Features
- Interface available in 3 languages (Portuguese, Spanish and English).
- Set of common Arduino drivers to be installed (original and CH340) – If you want to include a new one, contact us.
- Comes with FirmataPlus – It is possible to install FirmataPlus on your board, without the Arduino IDE (currently available for Arduinos Uno, Nano, Duemilanove 328p, Leonardo, Mega and Micro.
- Links for our main social networks – so you can keep in touch with us and be the first to know about the news. 🙂
- Shows up just the connected arduino boards on the serial port. This makes the life easy for computers that display a large number of connected peripherals. There is also a chance to request the inclusion of new boards – contact form is available.
- Connection of Scratch and Arduino through Firmata: Developed by Alan Yorinks (last version with Python 3.5) – no Python installation is required here.
- Mixly in Portuguese, English and Spanish: Chinese Software based on Google Blocks + Blocklyduino, translated to Brazilian Portuguese by HackEduca team.
- Scratcher Control: Application developed by Kreg Hanning that allows the connection between Scratch 2.0 and Android devices – In 2013 we translated the official version to Portuguese (available on Google Play) and now an unofficial version for Spanish. This app is currently not supported by its creator but it is still usefull – it’s the only one in the category with this feature.
- Download the unofficial version of Scratcher Control (apk) for Android devices which cannot access Google Play.
- Shows up the computer internal IP (local network): Important information for Scratcher Control.
- Shows up the external IP – Important for IoT (Internet of Things).
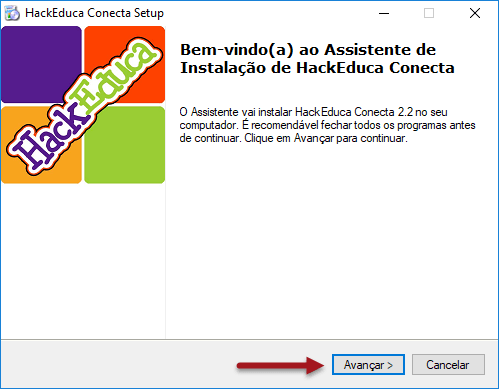
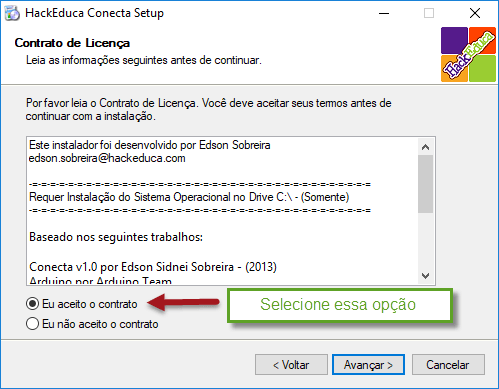
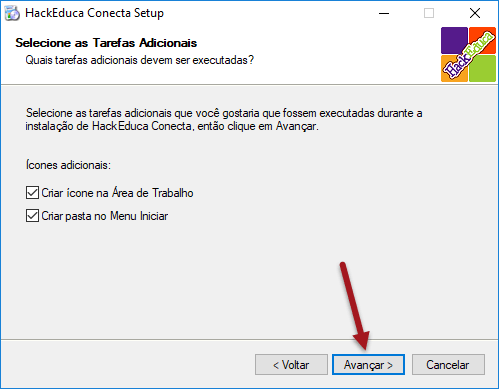
Installation
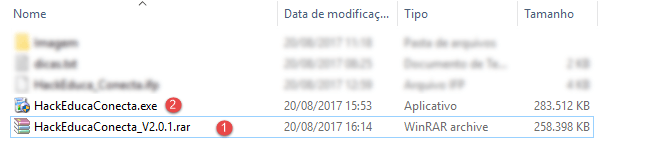
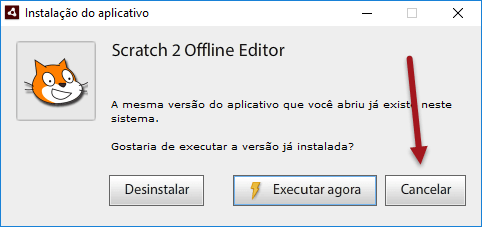
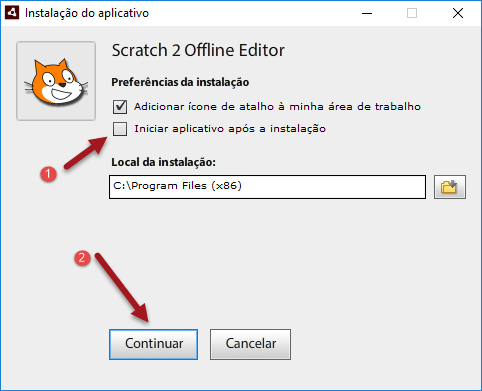
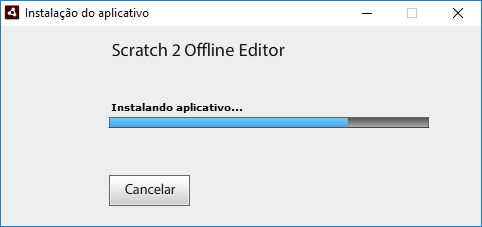
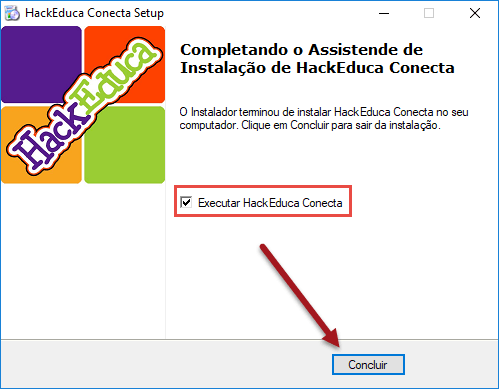
Go to the following webpage: https://www.hackeduca.com.br/download/. You need to be registred.
Following the process for install.

Initial Settings:
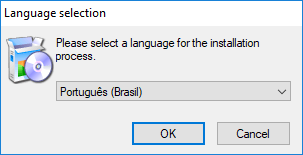
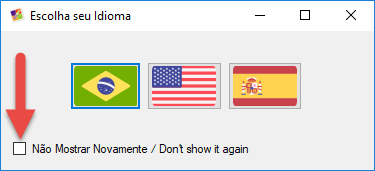
Language:
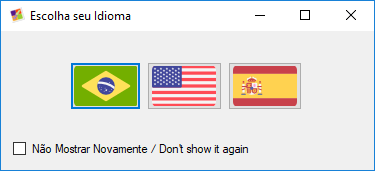
When the application runs for the first time you should choose your preferred language. Next time you open the application the previous selection will be considered.
To not ask you again, check the option: [Do not show again]
When the program is open you can access the [Languages] menu to change your language again.
Tools Menu
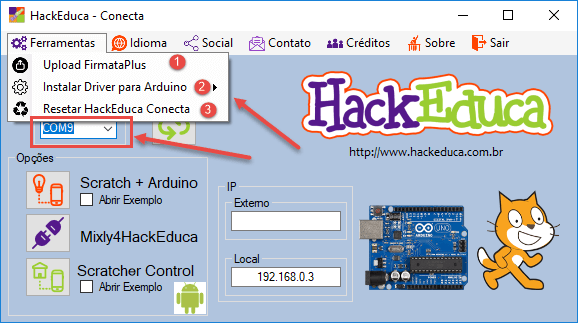
Ferramentas
Uploading FirmataPlus
It is not necessary an Arduino IDE anymore to upload the FirmataPlus in your Arduino board.
To do so, following steps below:
Choose the Serial port where your Arduino board is connected.
Go to [Tools]
Go to [Upload FirmataPlus]
Type the password [hackeducafirmata] – [hackeduca] – Password is to avoid accidental uploading.
Choose your Arduino board and… ready
Check the process in the animated gif below:
Driver
In case your Arduino has not been recognized by your computer, probably you have a driver issue, in this case, following the steps below:
Menu [Tools] –> [Install Arduino Driver] will be possible to select the following drivers: FT232R and CH340 (chinese boards, ESP8266, NodeMCU, etc…)
Reset
Restore to the original features, as language selection: [Tools] , [Reset HackEduca Conecta]
Social Network
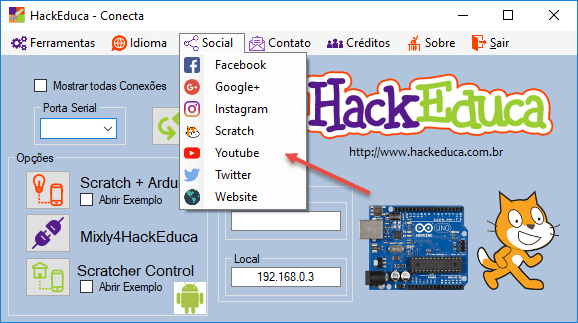
Redes Sociais
Subscribe and follow us in our social networks
Facebook
Google+
Instagram
Scratch
Youtube
Twitter
Contact
Do you want to contact us?
Want to hire our services for Workshops, Training, Consultings, or simply clarify your doubts.
Access [Contact us] to open a form in our website.
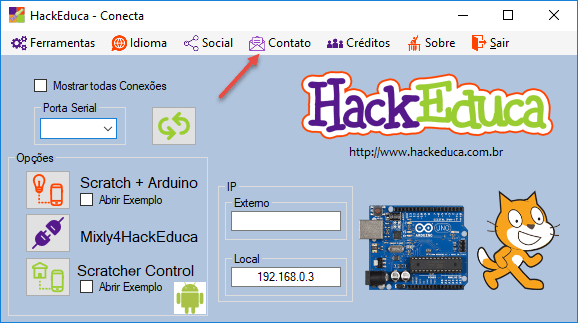
Contact HackEduca team
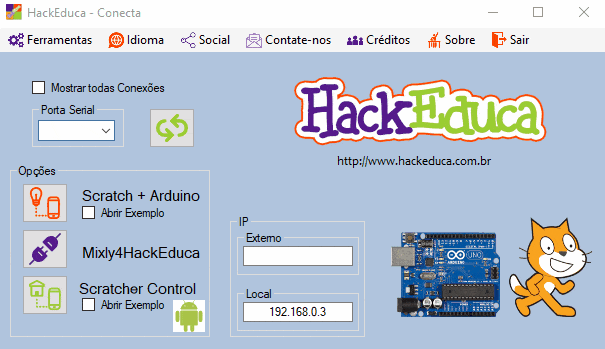
Serial Port
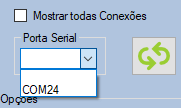
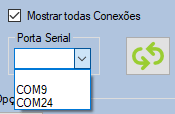
Here is where all of connected devices will be shown.
Some computers allocate multiple peripherals on the COM ports and this creates a confusion for Arduino users because it is difficult to know which port your Arduino is connected to.
To avoid this problem, we will only show the Arduino devices (we have a database with several manufatured boards) – see below how to include more
For this example, we have connected 2 Arduino boards: One is in port COM24 and the other is in port COM9, but only the one in COM24, by purpose, is being shown.
If this happens to you, click [Show All Connections] and your Arduino will appear – not only Arduino boards, but all devices.
Select the unkown Arduino device (in the new box), and click in [Send to HackEduca’s team] – We will include it in future realese.
See an animated version: In case you want to include the new and “Unknow Arduino board”.

Scratch + Arduino

Here is the place where communication with the Arduino and Scratch 2.0 will happen through the communication protocol FirmataPlus.
Unlike the previous version, it is no longer necessary to select a port for communication, as long as there is just one Arduino connected, anyway you can continue selecting the port if you wish.
If your Arduino does not appears click on [Show all Connections] and select the displayed port. (see previous session)
If the [Open Example] option is clicked, a Scratch 2.0template, developed by the HackEduca team, will also be opened to help you in the initial steps.
In this example we have:
Green Flag: One LED flashes
Pressing key “A”: Use of Ultrasonic Sensor
Pressing key “S”: Use of servo motor.
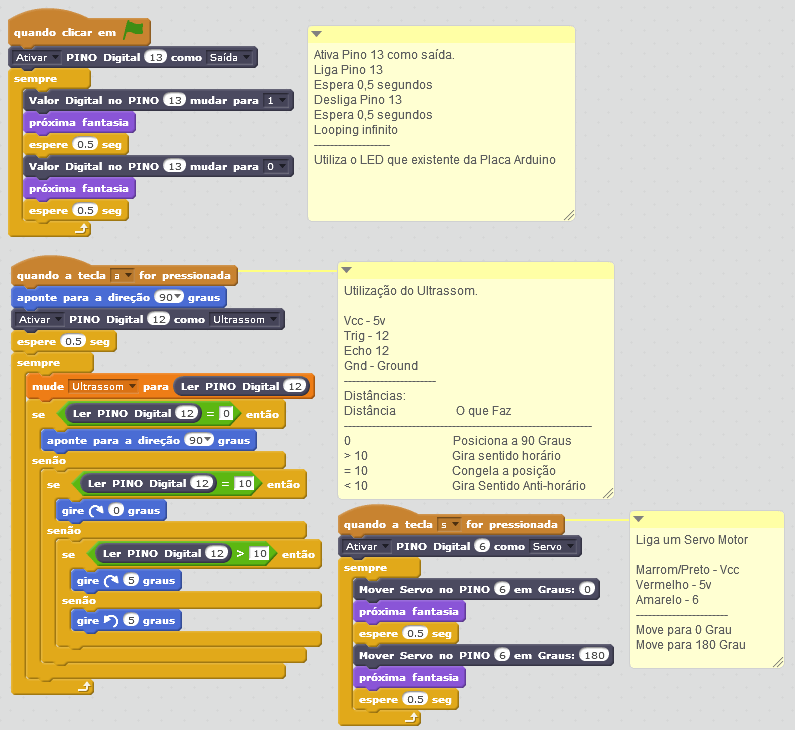
Example – Blink, Ultrassonic Sensor and Servo Motor
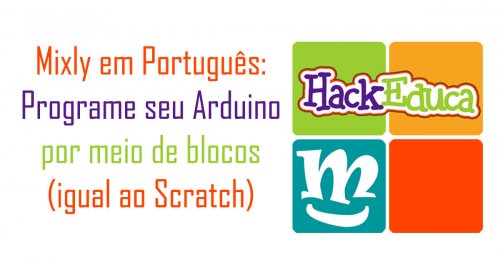
Mixly4HackEduca
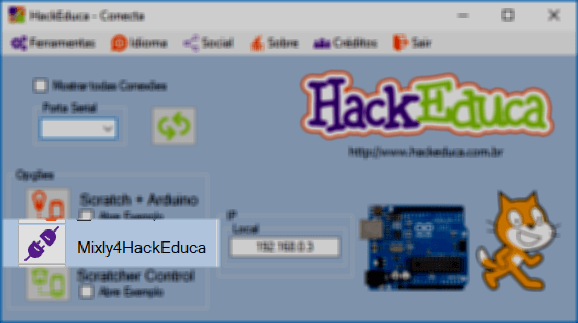
Mixly4HackEduca
Clicking on Mixly4HackEduca will open the version of Mixly in Portuguese (also available in English and Spanish), adapted by HackEduca team.
We translated into Portuguese and we have made some improvements.
See our article on the topic here. (available in portuguese)
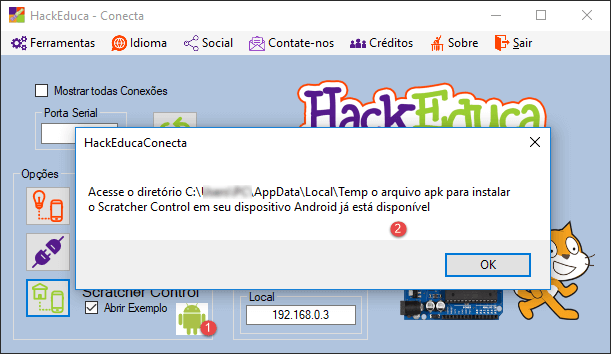
Scratcher Control
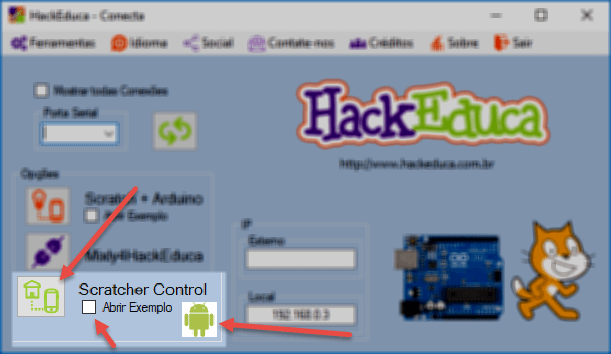
Here is place where you will make the communication between Scratch 2.0 and your Android device.
If the [Open Example] option is selected, a template made for Scratch 2.0, developed by HackEduca team, will also be opened to help you with the initial steps.
In this example we have:
Green Flag: Voice Command
Pressing key “A”: Directional
Pressing “space bar” key: Accelerometer
If you have not installed Scratcher Control on your Android device, download it on Google Play. In case you have no access access to Google Play Store click the Android logo, get a copy and install it on your device.
To get more information about Scracher Control, click here. (available in portuguese)
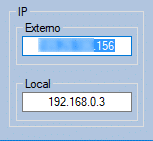
IP
The IP or Internet Protocal, is the identification number of your computer / cellphone / tablet or Arduino Wifi when it is connected in your network (local and external)
For several projects this is a relevant information.
Scratcher Control, for example, needs internal IP.
For a project on the Arduino WiFi and ESP8266 (IoT) boards, for example, you will need both
The External IP is protected, it will only be visible if the field is selected.
Hope you like this software.
Share in your social network.
Tell your friends and colleagues.
Enjoy!

This work by Edson Sobreira is licensed under a Creative Commons Attribution-NonCommercial-ShareAlike 4.0 International


No Comments